Tablet Weaving, also called Card Weaving, has always fascinated me. I can't walk past a gadget without taking a closer look. It's an inherited trait. My first exposure must have been as a child. I remember that my mother had a book on weaving, though I never knew her to practice that craft. Over the years, I have looked at looms and longed to try one. Never happened. A couple of years ago, I finally bought a rigid heddle loom and started investigating weaving with serious intent. The topics of Inkle Looms and Tablet Weaving came with the territory.
Tablet Weaving is the technique of using small, hole-punched tablets/cards to manipulate the warp yarn in weaving. The most common cards are square, with holes punched in each corner. The warp yarns are threaded through the holes. Rotating the cards raises or lowers the yarns to create spaces (sheds) for weaving. The patterns that can be made using tablet weaving are beautiful and complex. Essentially, tablet weaving is a simple computer.
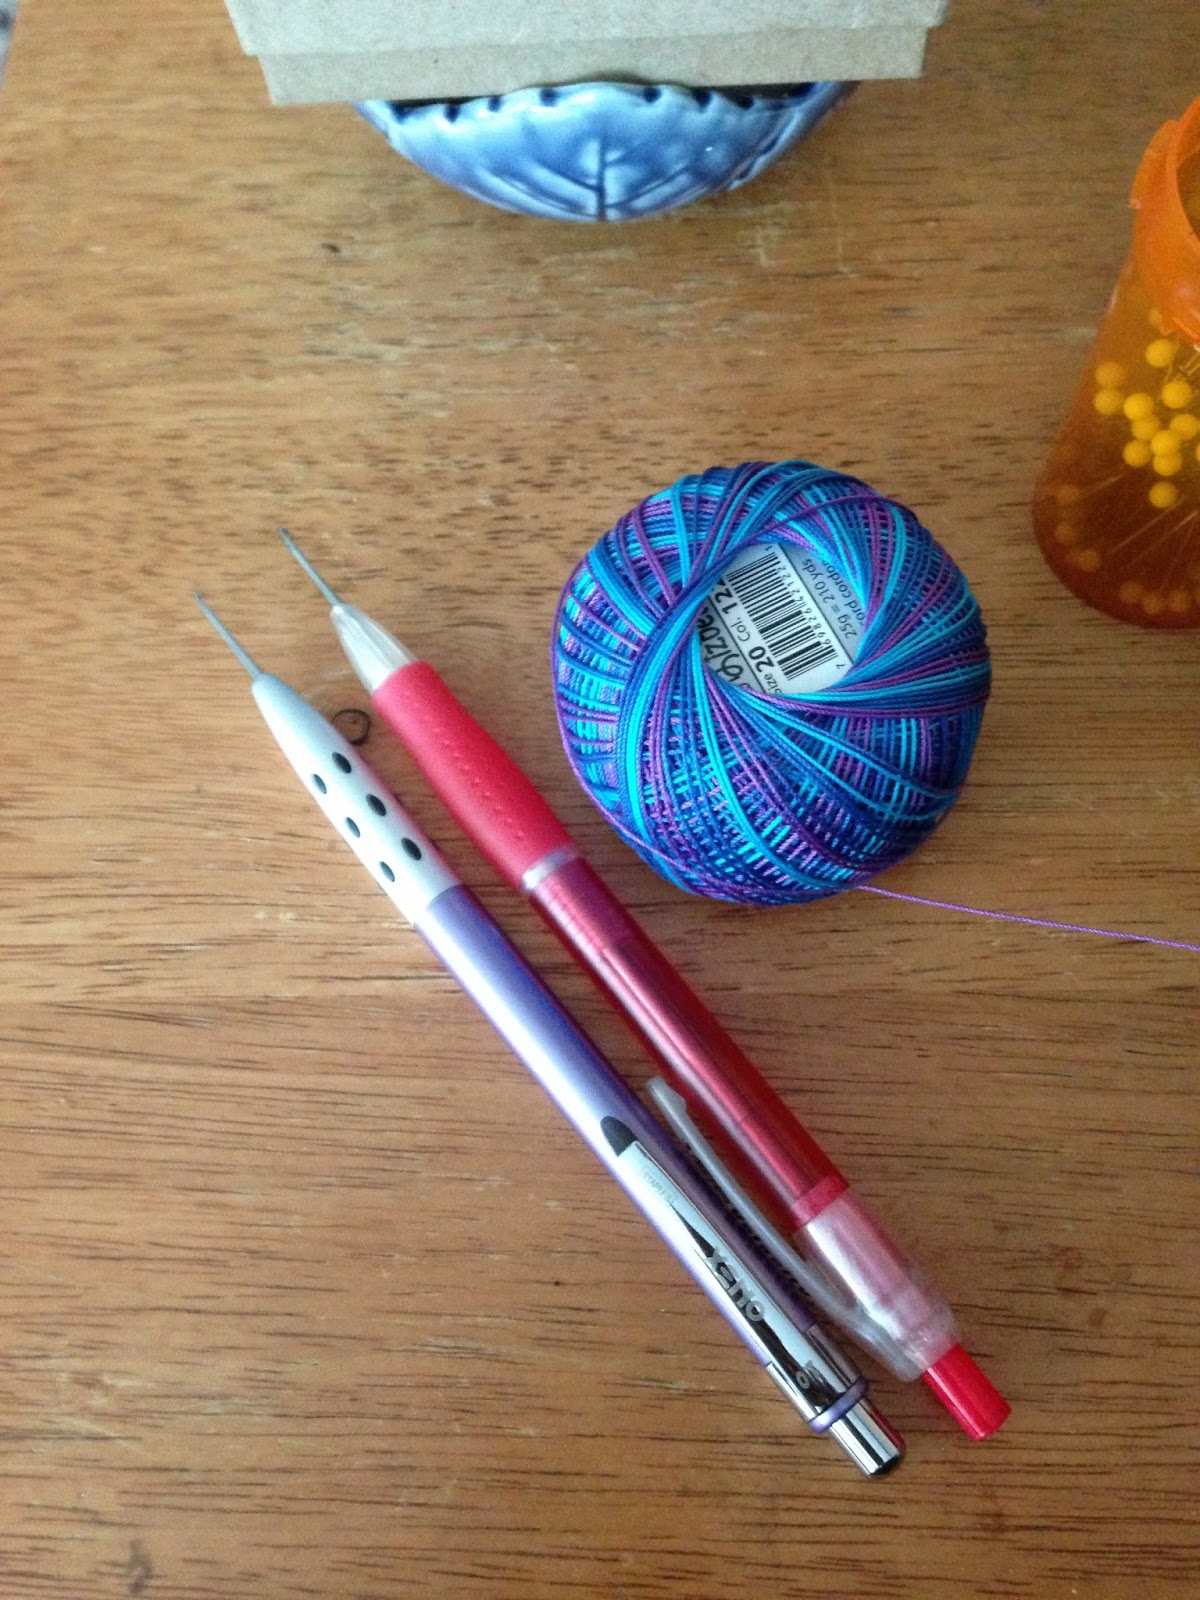
Tablet Weaving is a CHEAP hobby for me. An add-on craft. I was able to cobble together a loom using materials I foraged around the house. My tablet weaving loom is made with C-clamps, dowels, and a binder clip. I chose to buy weaving cards and a book, for convenience. It is entirely possible to make your own cards and use online instructions. For the woven band, I am currently using crochet cotton yarn. I will also try using various wool yarns that I have.
Here is the best graphic I have seen of Tablet Weaving, courtesy of
Shelagh Lewins.
http://www.shelaghlewins.com/tablet_weaving/TW01/Fig_4.jpg


